Loft Conversion SpeciAlist
Perhaps you’re happy with your home – or don’t want to commit to the upheaval of moving, given the current housing market – but your living area has become cramped, or you’re looking to grow your family.
Maybe you’re simply seeking a way to boost your investment in your property.
Either way, it’s time to consider a loft conversion: one of the cheapest, easiest and most efficient ways of adding value and space. Well, space that’s actually already there, beneath your roof!
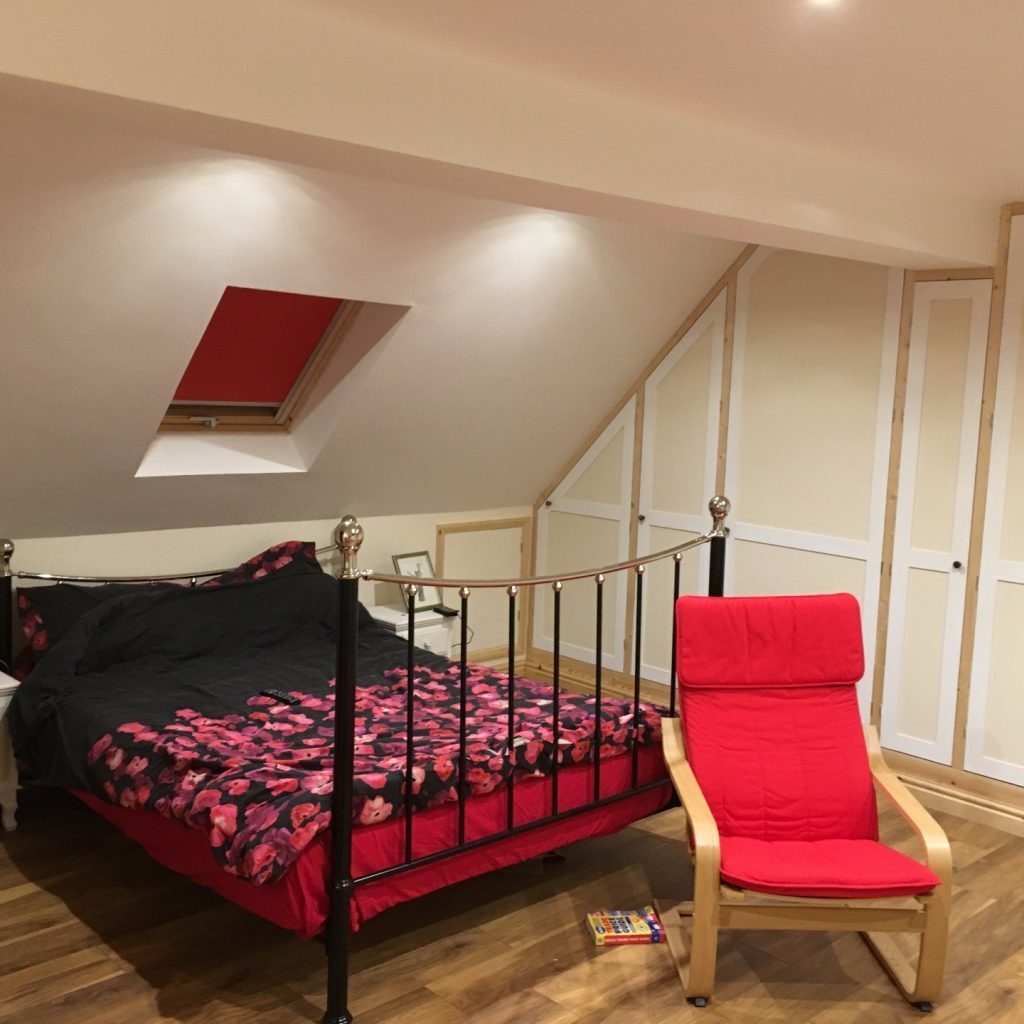
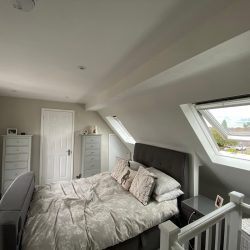
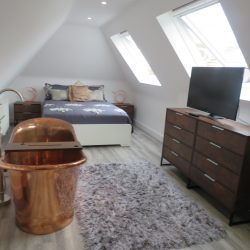
Think extra bedrooms, an en-suite bathroom, a playroom, a gym or a study – the possibilities are endless. And whether you live in a standard terraced property or a large detached house, the chances are, your loft can be converted.
Converting your loft can seem very complex, with building regulations to be complied with, planning applications to be filed and work to be completed.
However, Roebuck developments can make the process easy and stress-free with our expert guidance, dedicated building team and proactive approach.
Types of loft conversion
Velux window conversion : Convert your existing loft space without changing the existing shape of your property. Velux windows create natural light and ventilation.
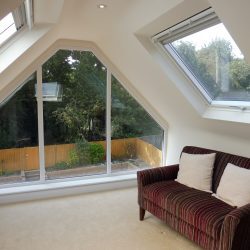
Dormer loft conversion : Extend your roof, providing more headroom and greater loft space.
Dormers can be placed on the rear, front or side of the property. Rear dormers are the most popular. Dormers can accommodate windows and French doors, and Velux windows can be placed on the front of the roof, creating natural light and ventilation to all rooms.
Hip-to-gable loft conversion : Extend your existing hip-ended roof into a gable-ended roof to gain more headroom and greater loft space.
A rear dormer can also be erected to this type of conversion.
Mansard loft conversion : Achieve maximum loft space with a conversion that goes up to the apex of the roof. Windows, French doors and Velux windows can be inserted into the Mansard.
The stages of a loft conversion
- Every loft conversion is slightly different – but these are the most common steps taken in a dormer conversion, for guidance:
- Work commences with the erection of independent scaffolding.
- The first set of materials is delivered. This typically includes structural steels, joisting timbers and skips.
- An opening is made in the roof for access. Initial works are completed externally, minimising internal disturbance.
- The dormer is constructed, and structural steels are fitted.
- The structural floor joist is fitted, and the local authority Building Inspector visits to approve the structural construction.
- Electrics, plumbing and then insulation are installed. This is followed by a further inspection.
- External works – such as the roofing of the dormer, lead work, fascias, soffits and guttering – are completed.
- Studwork walls are fitted internally to create access through the rest of the property.
- Dormer or Velux windows are fitted.
- Access is created to facilitate the installation of a new staircase, and new stairs are fitted.
- All new areas are plastered.
The Building Inspector does their final inspection and issues a Completion Certificate, providing all works have complied with building and fire regulations.
The new loft is now ready for decoration and habitation.